Here at Best of Signs, we love banners –– they are kind of our thing if you couldn’t tell.
One of the many things we appreciate about banners is their versatility; they can be the perfect way to promote a sale, increase sidewalk traffic, highlight an event, or bring in curious people a trade show. Beyond business, they are a great way to celebrate a loved one at their birthday or other special events.
What are you looking for in a banner? Does getting started seem like a daunting task? Never fear.
We are here to help by giving you the lowdown on thinking up, designing, ordering, and hanging your banner, no matter what it will be used for.
Let’s walk through creating the banner that’s right for you.
How to Make a Custom Bespoke Banner
Before you get into the nitty-gritty of your banner creation, it is important to answer some basic questions about the purpose, setting, sizing dimension, and other elements that can affect what type of banner you should be looking at.
Step 1: Determine Where to Place the Banner
Are you having an outdoor extravaganza or an indoors bash? The environment where you’ll be setting up the banner has an important impact on what type of banner material you should get, as the hanging options will dictate what you can feasibly do.
Step 2: Choose the Banner Material
There are a few main banner material types that we suggest going with.
Vinyl
Far and away the most popular material for a banner, a durable vinyl material is versatile enough for either indoor or outdoor use. As a waterproof, durable, and fade resistant material, vinyl is a great multipurpose option that’s easy to keep wrinkle free and is easily reusable.
Mesh Vinyl
For outdoor events, wind and other weather elements can be a factor to consider in your banner selection. Since mesh vinyl has a longer lifespan than regular vinyl, it can be a great option to avoid having your banner flapping in the wind.
Adhesive Vinyl
Will you be placing your banner on a wall, window, or another smooth surface? Consider getting an adhesive vinyl banner, which allows you to stick up your banner with ease. Bonus: our adhesive vinyl banner material is washable and reusable!
Step 3: Decide What the Banner Should Hang On
The placement of your banner in the space can also help you narrow down the optimal option. Think about the best way to display the signage. Should the banner be hung over a window or would it be better standing on its own?
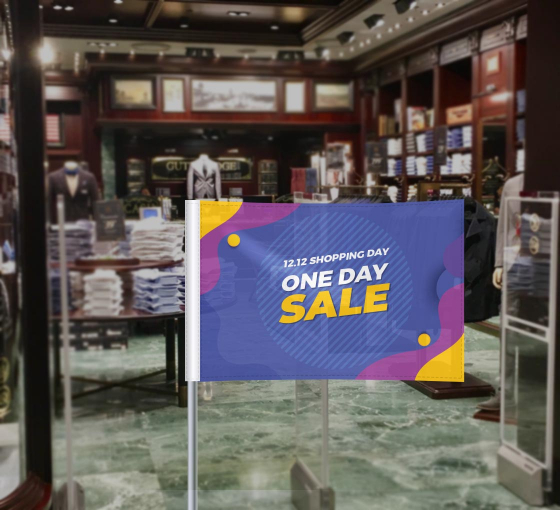
Both window banners and retractable banners offer the ability to place your signage in the prime location, without having to worry about them falling down.
Step 4: Choose the Banner Size
Maybe you live by the “go big or go home” axiom, but that is not always the best guiding idea for your banner development.
First, consider everything you want to fit on the banner and how far away people will be when viewing it. Too small could mean they can’t read it or won’t notice it, while too big could have an overwhelming or overpowering effect, which is not ideal.
Generally speaking, average banners range from 2 to 5+ feet in size, but the dimensions should be based on how you plan to use the banner in the first place. Bigger banners do well for larger events, like sporting events, festivals, and fundraisers while smaller ones are great for parties, celebrations, and other gatherings.
Step 5: Choose the Banner Text and Design
Now comes the most important part: what will you put on your banner?
Text
Depending on what you are promoting or announcing with your banner, you’ll want some text that communicates well what you’re doing. You want the copy on your banner to be short and to the point, but it also needs to catch the attention of those who will see it.
Are there specific details that need to be easily visible? Those pieces should be incorporated into the text plan early on. If your banner will be used for a trade show or other professional event, keep in mind that your business name and logo should be prominently displayed.
Design
Next to the text, the design is a key element to your banner. If you’re a design whiz, hop on PhotoShop or Illustrator to create something eye-catching and fun. Make sure to incorporate any necessary logos, as well as colors, designs, and fonts that make your message pop and that is cohesive and not overly busy. Too many colors and fonts can be overwhelming, so when in doubt –– simpler is better.
Should you find yourself lacking in the aesthetic design department, there are other options to pursue. If you have an idea of what you want, you can often work with a company design consultant who can help you put together a layout that meets your needs. However, make sure that you get a chance to proof and approve the design before it goes to print.
Alternatively, many places also offer templates to choose from that you can liven up with your own flair and ideas. You don’t have to be an artist to get a banner that looks great.
Step 6: Buy and Hang the Banner
Once you choose all of the specifics like size, banner type, display type, design, it’s time to order your masterpiece.
Most online banner stores have simple step-by-step options for building your banner so that you can customize your banner to the exact detail you’d like and get a proof before production.
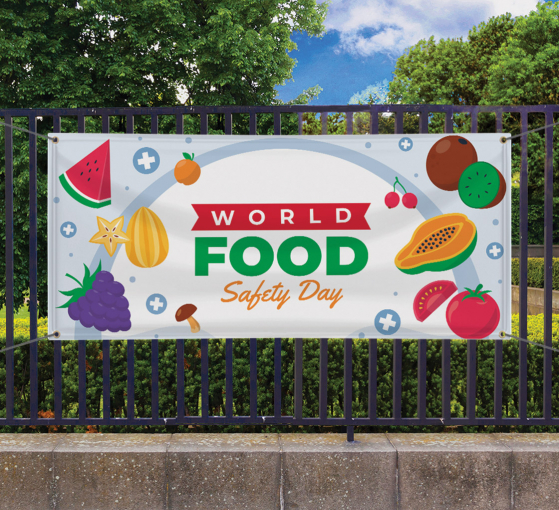
Once your banner arrives, it’s time to show it off to the world. Depending on the type you buy, display instructions will be different. Normal banners are hung using grommets, while window and retractable banners have their own steps for placement.
Make the Perfect Banner for Your Next Event
Designing and creating a banner for a special event doesn’t have to be rocket science.
Here at Best of Signs, we are committed to helping you create signage that wows potential customers or celebrates a special someone.
Are you ready to start creating the perfect banner for your next event? Let’s get started!



 Posted in


